Previous
Indoor gardening for self-care


You can rent or buy a property that already has a fitted kitchen. Easy on the pockets but at times not so easy on the eyes: dated finishes or colours that absolutely don’t match what you’re looking for or your idea of home.
For example, I’ve inherited a good quality kitchen, in perfect condition, custom-made to suit the unique plan of the flat, fitted with great-quality appliances but in lobster-red.

You can’t live with such a colour if you haven’t chosen it yourself. So, this is why I decided to give a facelift to my kitchen, adapting it to the Scandinavian style that has inspired the rest of my flat.
Using the right kind of tools and quality products are basic requirements for painting your kitchen, especially if you’re a beginner.
The paint I went for has been a real internet sensation: retailed by a tiny Dutch brand and manufactured in a British workshop, it feeds the creativity of a vast international community that has justified my chose and assures me that I’ll get a professional finish.
I trust this advice and proceed to buy paint, fixative, sealer, paint rollers and brushes. The fixative is the product that acts as a foundation, and by creating an ideally coarse surface, it ensures that the paint sticks to the original layer. The sealer is the finish that seals the final layer and protects it from external action, allowing the kitchen to be cleaned without worry with a cloth and degreaser.

I take a detailed photograph of the kitchen, partly to document the before stage, and partly to avoid finding myself thinking looking at a handful of bolts, what goes where when I have to put it back together again. I take apart every hinge with a screwdriver and unscrew the doorknobs, I label every part I remove from the kitchen with masking tape and pencil. I lay everything on the floor and begin to prepare my workbench.

There’s no need for that! My new online friends keep telling me but I sand a little bit down anyway, with the abrasive back of a kitchen sponge or with extra-fine grain sand paper. My friends tell me I should remove dust residue with water and bicarbonate of soda. Because I lightly and methodologically sanded all services down I go for kitchen paper and ethanol.
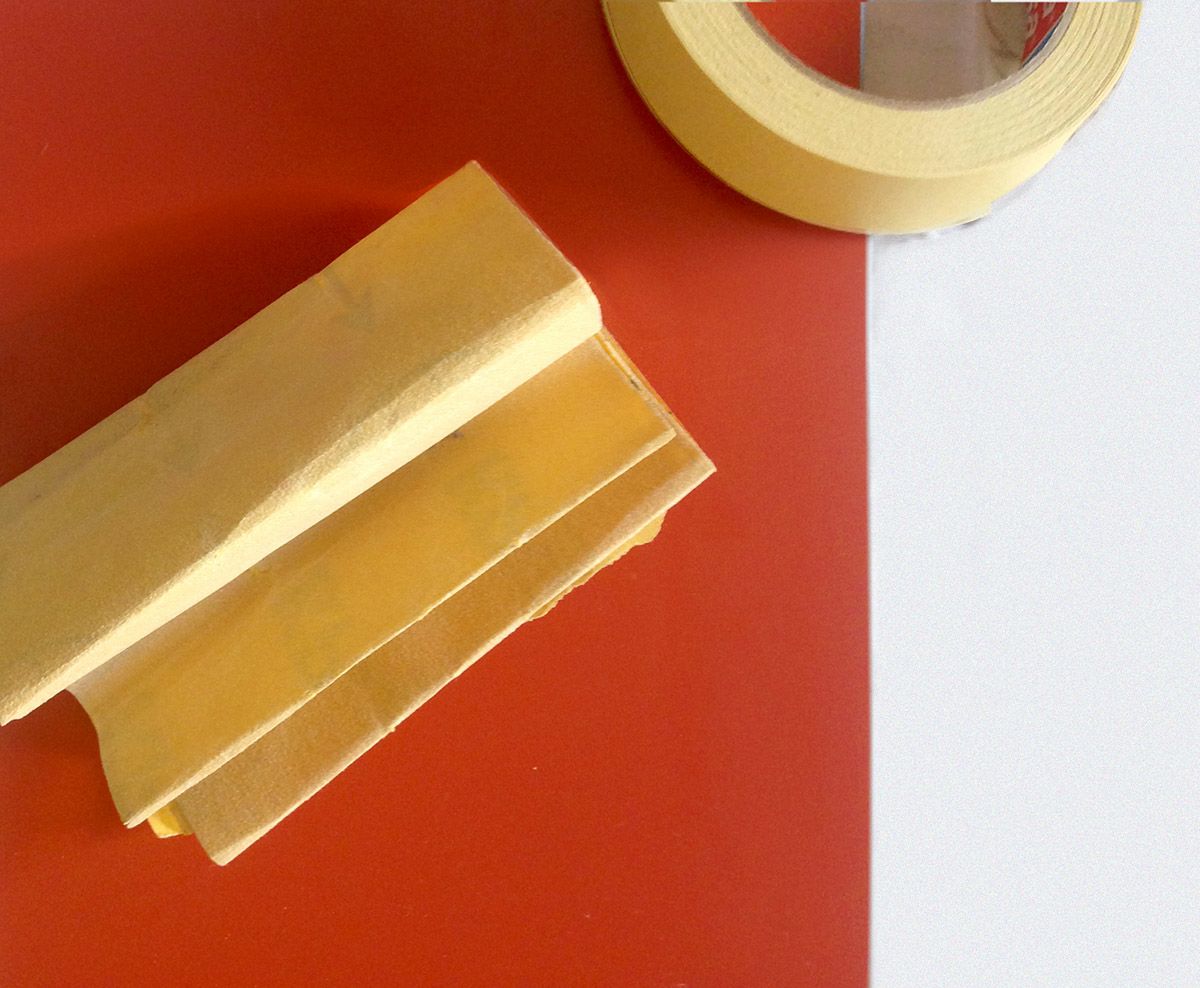
The preparation is possibly the most boring phase as we can’t wait to get to the end, but it’s really important and spending an extra hour preparing things can save you from having to make long and painful corrections later on. Masking tape is the only ally you have to go straight or to protect the details you don’t intend to paint over. For example, my kitchen doors have steel profiles and I intend to keep them this way. For this reason I get a roll of masking tape out and I lay it with great precision.
I could have also avoided this step, but I can’t deny a light hand of fixative to my kitchen. I’m using the same small 5-6 cm paint roller that I’m going to use for all the subsequent steps and I’ll also adopt the same technique: I’m going to cross brush strokes (paint roller strokes in this case), first horizontally and then vertically following the length of the door.
I’m going to paint all the pieces on one side first and then I’ll leave them to dry for a couple of hours. When the product is sufficiently dry, I’ll paint a coat of primer on and let every piece dry for 12 hours.

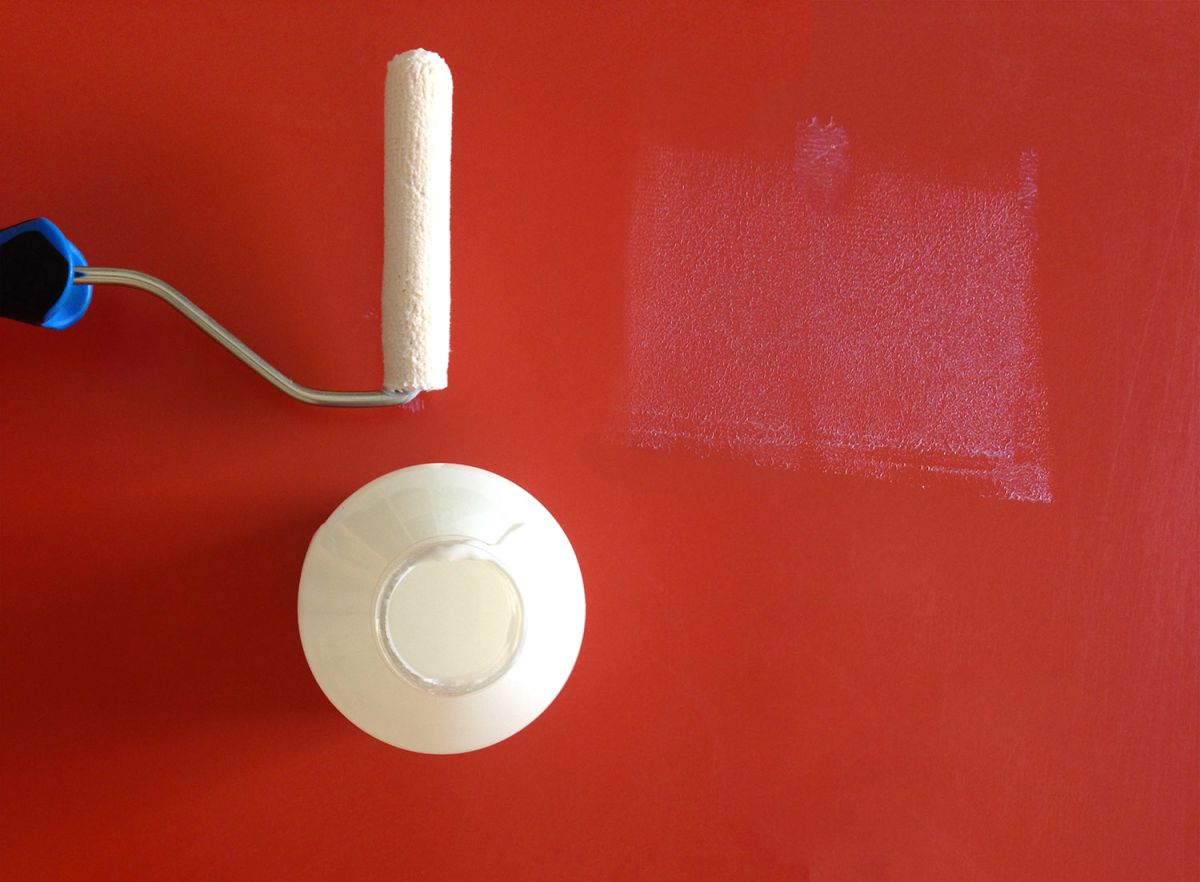
It’s finally the time to paint. Don’t try to cover everything with the first coat of paint, otherwise you might waste too much paint and to paint too thick of a coat on. I use the same paint roller I used to apply the primer with, but before that I wash it in warm soapy water and leave to dry diligently. I mix the paint properly with a ladle (not too vigorously so as to avoid air bubble) and the outcome is a dense and fluid liquid, just like with good quality olive oil. I wet the roller so the paint slides better, and with using its tray, I cover it with paint in a uniform way.

I start to paint, first horizontally and then vertically: it doesn’t splash and I’m happy it’s worked out so well. Then I carefully move each piece to one side, holding each piece by the profile I covered in masking tape and place them all on the floor, obviously on the side that hasn’t been painted yet. I leave them to dry for 2-3 hours, the necessary amount of time so the surface stops being cold to the touch, and with great care, I paint the first coat also on the other side. I clean and dry the paint roller between each coat.
I repeat the previous step exactly from the beginning. With this coat of paint you can even avoid to cross your brush strokes, in fact many people suggest no to do it. But, I cross my brush stroke also this time around. I let everything dry for at least 6 hours.

A sealer is a great product, it has an elegant matte and satined effect, but you can’t paint it on as easily as with ordinary paint and it’s common to see brush strokes. So, I decide to bring back the paint roller (with which by now I’ve forged a close link) and I paint the sealer on exactly how I painted all the other coats. At first, it looks like a matte white coat that however becomes see-through as it dries, the only change that occurs worth noticing is that the paint becomes less vibrant, but I don’t mind this at all. I clean the house a little, and after three days of intense work, I go on holiday. Coloured paint and sealer will only polymerize definitely after 2-3 weeks, during which time you’re absolutely prohibited to wet or rub the surface whatsoever.

Back from my holiday, I stick a couple of loads in the washing machine and start work again, taking the masking tape off and fixing potential imperfections. I sand tiny crusts off, I paint over tiny spots that still show the original colour and I put back together again doors and drawers. I need to remind myself to be careful when I use the kitchen: in fact I can only start cleaning it again without worrying about ruining my work or leaving watermarks only after 3 weeks after the last coat of paint.

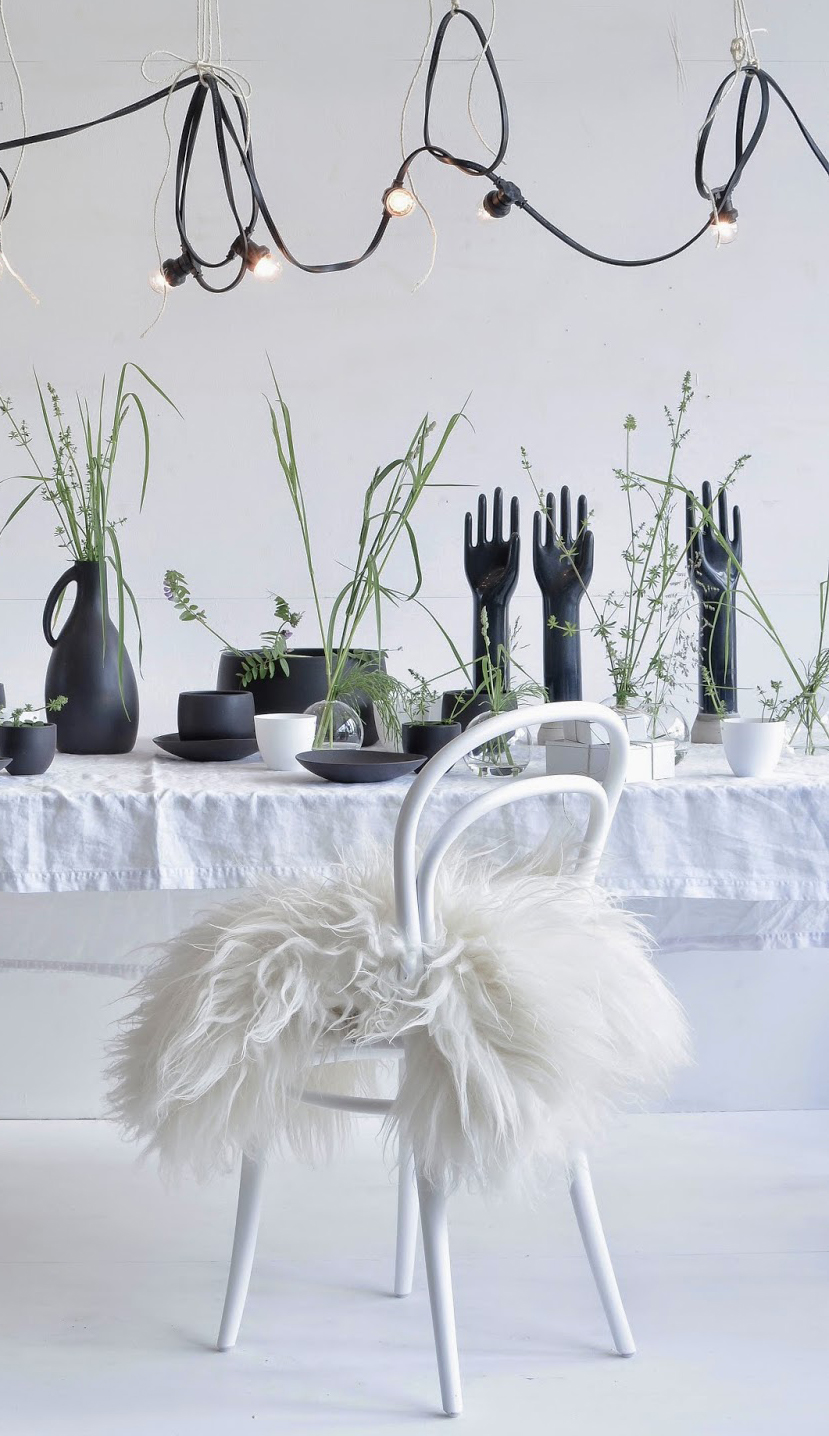
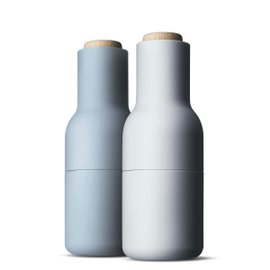
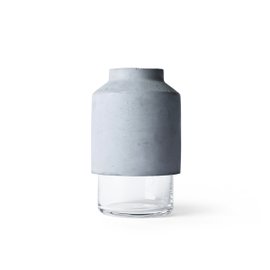
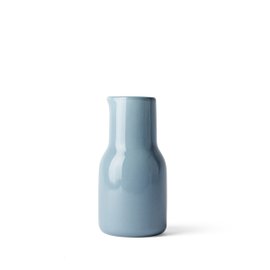
Am I happy of the outcome? Of course I am. Apart fron a couple of tiny imperfections only I know the existence of, my kitchen looks brand-new again and has a totally professional finish. I did by myself, as I wanted, with a small budget and in only 3 days of work. The table was already white and I’ve made it appear brighter by adding a couple of white chairs by Ton in different styles. I’ll keep adding pieces in white or pastel tones to get that Scandinavian reference that makes me feel so greatly at ease.
 credits: Magnus Marding